When it comes to submitting document photos for verification, things can get tricky. Many platforms have strict rules about how your photo should look. If you wear glasses, you might wonder if it will be a problem. Let’s dig in.
Understanding the Requirements for Document Photos
Document photos play a critical role in verifying identity across multiple platforms, whether it’s opening a bank account, registering on a payment app, or submitting paperwork through government portals. These systems depend on high-quality images that can be quickly processed by both human reviewers and automated recognition software. A clear and accurate photo ensures your identity is confirmed without unnecessary delays, while poor-quality submissions often result in rejection and additional verification steps. This makes understanding the requirements not just a technicality but a vital part of a smooth application process.
Clarity of the photo is the first and most important factor. Your face and the document details must be visible without any obstruction. If the image is blurry, cropped, or pixelated, it becomes nearly impossible for software to scan or for officials to match it with your identity records. That’s why proper focus and a stable hand are essential. Many people underestimate how much shaky hands or poor-quality cameras can impact the outcome, but even a slight blur may force you to resubmit everything. For this reason, using a modern smartphone or a camera with autofocus greatly increases your chances of success.
Lighting conditions are another crucial aspect. Good lighting ensures that both your face and the document are visible in detail. Natural daylight is usually the best option since artificial light sources often create shadows or reflections. Direct flash, on the other hand, may bounce off surfaces—especially glossy IDs or glasses—creating bright spots that hide key features. That’s why it’s recommended to find a well-lit room with soft, even light that prevents glare while keeping every corner of the document readable. The goal is to strike the perfect balance between brightness and sharpness without introducing distractions.
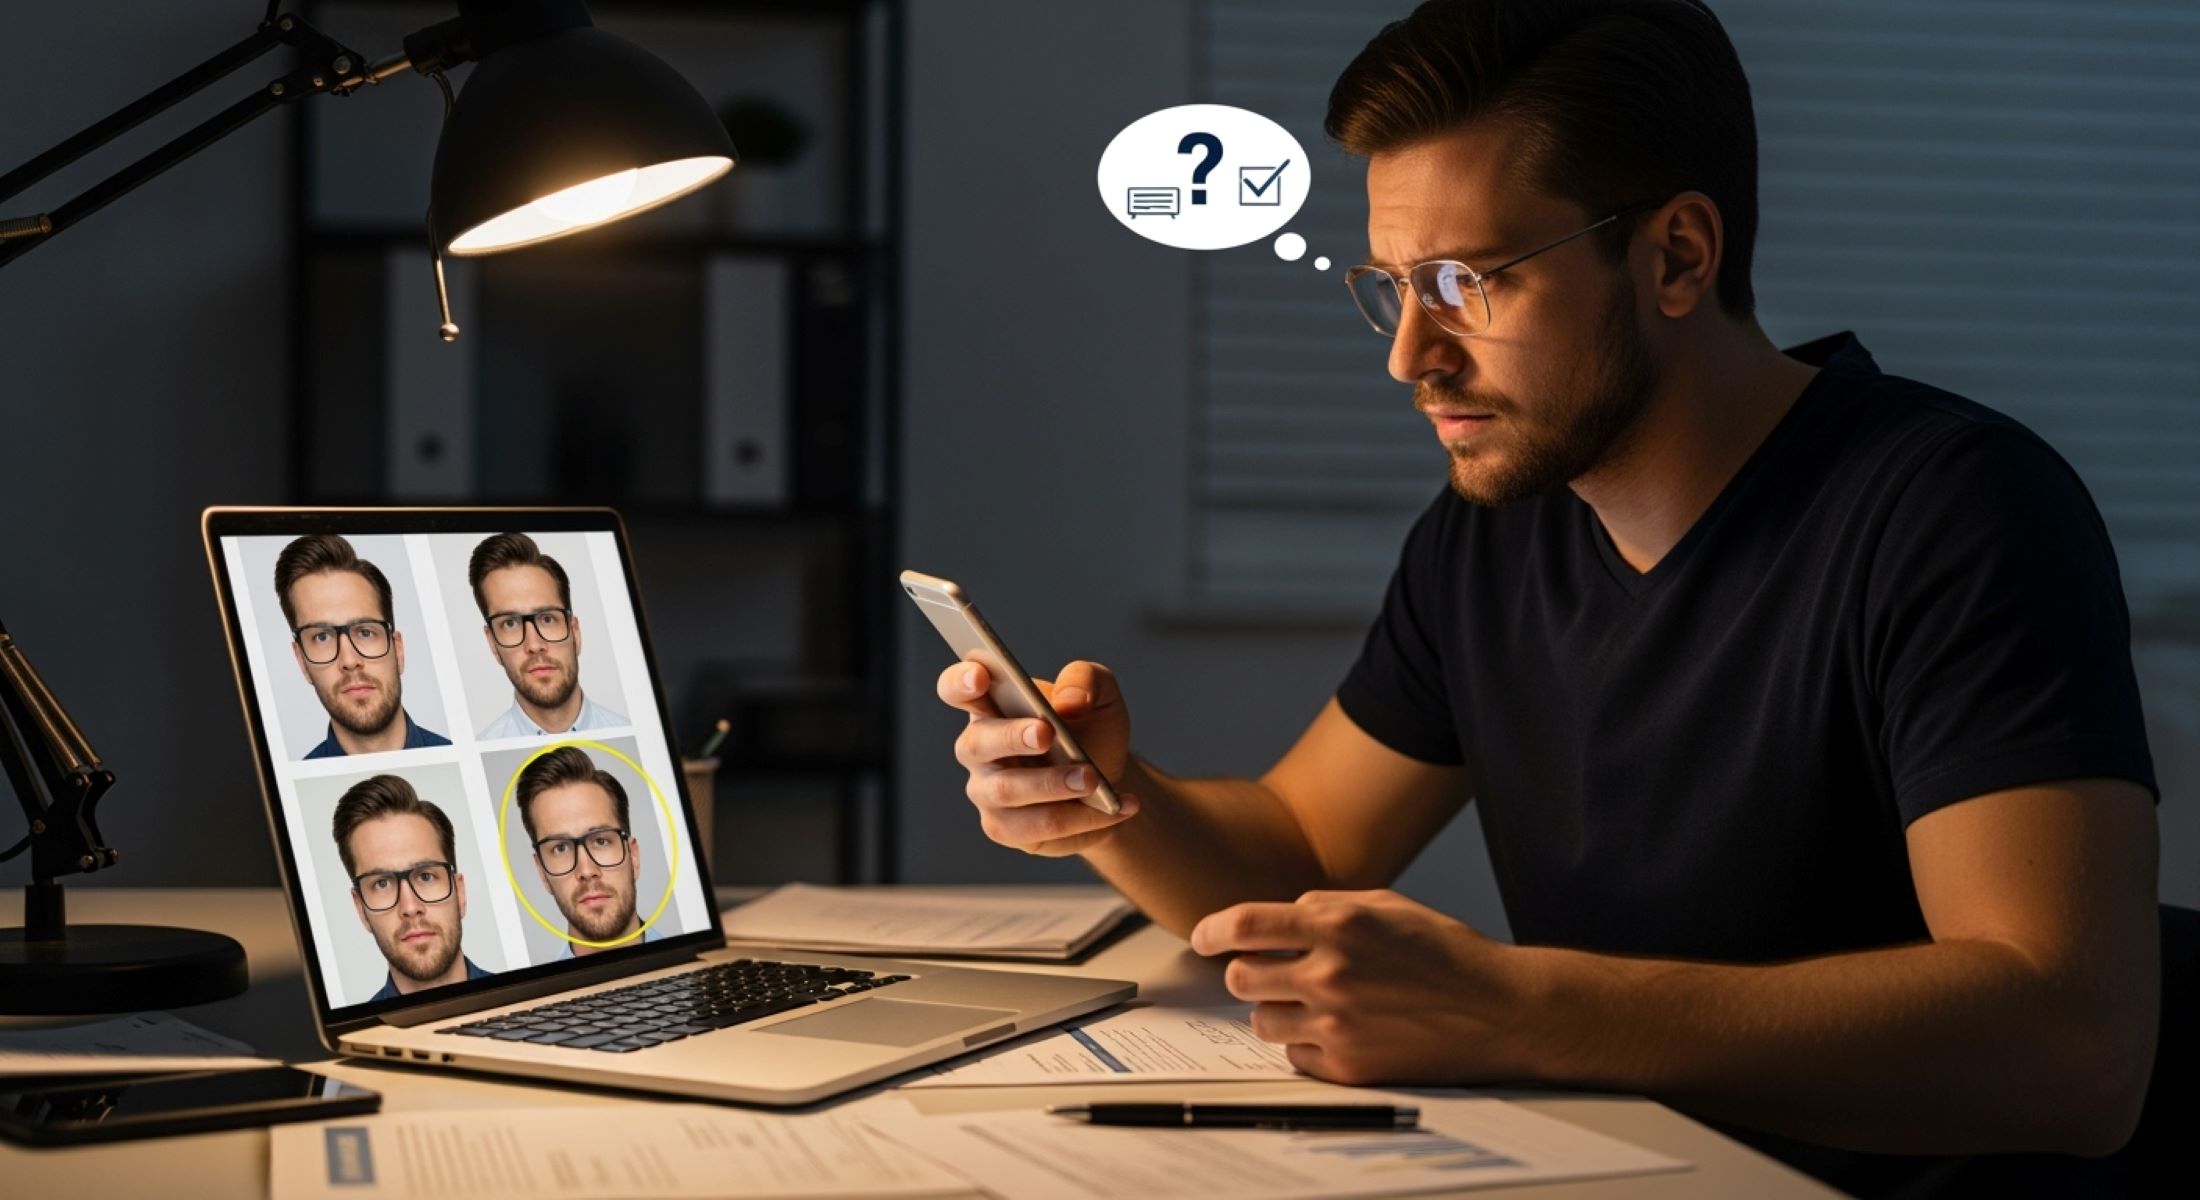
Finally, the framing of the photo must meet strict requirements. The document should always be captured in full, with all corners visible, so that none of the information is cut off. At the same time, your face should be entirely within the frame, centered, and unobstructed. Any objects, fingers, or backgrounds interfering with the shot can cause problems for verification systems. When glasses are involved, these challenges can multiply, since reflections or thick frames may cover your eyes. This is why extra care must be taken—adjusting angles, cleaning lenses, and sometimes temporarily removing glasses—to ensure the final photo meets all verification standards without risking rejection.
Why Glasses Can Cause Issues
| Issue | Cause | Example in a Photo | Possible Outcome | Solution |
| Glare and Reflection | Light bouncing off lenses, especially from flash or direct lighting | Bright white spots on one or both lenses, hiding the eyes | System rejects photo because eyes are not fully visible | Use natural light, tilt head slightly, or take photo without flash |
| Obstructing Facial Features | Thick frames or large rims blocking part of the face | Eyebrows or eye corners hidden behind thick glasses | Automated recognition struggles to match face with ID | Adjust camera angle, push glasses slightly down nose, or retake photo |
| Tinted or Dark Glasses | Sunglasses or transition lenses appear too dark | Eyes not visible at all under tinted lenses | Immediate rejection since eyes must always be visible | Remove sunglasses, switch to clear lenses for the photo |
| Distortion of Facial Shape | Curved lenses or magnification effect from strong prescription glasses | Eyes appear unusually large/small compared to face | AI system flags face mismatch with ID document | Take photo at correct distance to minimize distortion |
| Smudges and Dust on Lenses | Dirty or scratched glasses scattering light | Foggy or blurred patches covering parts of the eye | Image considered unclear or low-quality | Clean lenses thoroughly before taking the photo |
Tips for Taking an Accepted Document Photo with Glasses
If you wear glasses daily, don’t panic—having them on doesn’t automatically mean your photo will be rejected. The key is to make sure your eyes, face, and document remain clear and visible. Below is a detailed list of practical tips to help you take a photo that meets verification standards.
- Use natural lighting whenever possible. Artificial light sources like desk lamps or flashes often cause glare on glasses. Position yourself near a window where soft daylight falls evenly across your face. This reduces unwanted shadows and keeps your eyes visible through the lenses.
- Avoid direct flash photography. The flash from your phone or camera is one of the biggest culprits when it comes to bright spots on lenses. If you must use artificial light, make sure it is diffused or positioned at an angle, not directly in front of your glasses.
- Experiment with your angle to prevent glare. Even a small adjustment in how you hold your head or the camera can make a big difference. Try tilting your face slightly upward or downward until the reflection disappears from your lenses.
- Make sure your lenses are clean and clear. Dust, smudges, or fingerprints can scatter light and blur your eyes. Wipe your glasses with a microfiber cloth before taking the picture to avoid unnecessary marks that can confuse verification software.
- Check if the rules allow you to remove your glasses. Some platforms give the option to take the photo without glasses, as long as your face still resembles your ID photo. If glare keeps ruining your shot, it’s often best to take them off temporarily for a cleaner result.
- Avoid tinted or photochromic lenses during the photo. Transition lenses that darken in sunlight may make your eyes appear hidden. If possible, use clear lenses, or step indoors so the tint fades back before capturing your photo.
- Hold the camera steady and ensure focus. A shaky hand combined with glasses can make your face look blurry, especially around the eyes. Rest your elbows on a table or use a tripod/phone stand to keep the photo sharp and stable.
- Check reflections carefully before submitting. Take a few test photos and zoom in to see if any glare or reflections hide your eyes. Sometimes a reflection might not be visible on the small camera screen but becomes obvious upon closer inspection.
- Avoid overhead lighting that reflects down on your glasses. Ceiling lights can create bright circles on your lenses that block your pupils. Instead, position yourself so the main light source is in front of you but slightly higher or to the side.
- Take multiple photos and choose the best one. Don’t settle for just one shot. Capture several angles and lighting setups, then select the clearest image where your eyes and face are perfectly visible through your glasses.
Common Platforms and Their Glasses Policies
When it comes to identity verification, different platforms have slightly different approaches to glasses in document photos. The general rule is that glasses are allowed as long as they do not obstruct your face, create glare, or make it difficult for the system to verify your identity. However, each platform has its own standards and level of tolerance for minor issues. For example, banks and financial institutions that rely on strict KYC (Know Your Customer) processes usually allow glasses, but if glare hides your eyes, you may be asked to retake the photo. Their main focus is to have a crystal-clear image that can be matched with your government-issued ID.
Passports and government IDs are also strict when it comes to photo quality, but they generally allow people to wear glasses since many individuals rely on them daily. That said, tinted or transition lenses are not acceptable, because they obscure the eyes and can create difficulties during biometric verification. Governments often emphasize that eyes must be fully visible and that any glasses worn should not have thick rims or reflective coatings that interfere with facial recognition. In many cases, if you are unsure, it’s safer to take off your glasses just for the photo submission, even if you normally wear them.
Online casinos and betting apps have slightly more flexibility, but they still require a clear and glare-free image. These platforms often use automated AI verification systems that struggle with even small reflections on lenses, so the cleaner and sharper your photo, the faster your account gets approved. Since these businesses operate in highly regulated industries, they need to comply with anti-fraud and anti-money laundering requirements. That means even though they may not be as strict as a passport authority, they still demand professional-quality document photos where your identity is undeniable.
Cryptocurrency exchanges, on the other hand, are known for their advanced KYC checks, and glasses can sometimes cause complications in their automated systems. Many of these platforms operate internationally and must follow regulations like AML (Anti-Money Laundering) and CFT (Countering the Financing of Terrorism), so they rely heavily on facial recognition software. Wearing glasses is allowed, but the full face—including eyes—must be perfectly visible. If the system detects glare, shadows, or distortion from lenses, it may flag your verification for manual review, which delays approval. To avoid such issues, users are encouraged to minimize glare, keep their glasses clean, and ensure strong but even lighting when capturing their photo.
Examples of Accepted vs. Rejected Photos
| Category | Description | Example | Impact on Verification | Tips for Success |
| Accepted – Glasses Worn, Lenses Clean | User wears regular glasses, lenses are smudge-free, and eyes are fully visible | Photo shows face centered, clear eyes, document in frame | Verification usually approved immediately | Clean lenses, ensure glare-free lighting, center face in frame |
| Accepted – No Glare on Lenses | Glasses worn but lighting is angled to prevent reflection | Slight tilt of head avoids flash reflecting on lenses | System can detect eyes and match with ID without issue | Adjust angle of light, avoid direct flash, use natural light |
| Rejected – Glasses with Glare | Reflections from flash or bright light obscure eyes | Bright white spots covering part of the eye area | Photo flagged or rejected, requiring resubmission | Retake photo with softer light, adjust head angle, remove glasses if needed |
| Rejected – Sunglasses or Dark Lenses | Lenses too dark to see eyes | Eyes completely hidden behind dark glasses | Immediate rejection, verification cannot proceed | Always use clear lenses or remove sunglasses |
| Rejected – Obscured Eyes or Face | Thick frames, hair, or document placement blocks key features | Part of eye hidden by frame or document overlaps face | AI cannot match face to ID, human review may still reject | Ensure face fully visible, adjust document and camera angle, avoid overlapping objects |
Step-by-Step Guide to Taking a Perfect Document Photo with Glasses
Taking a high-quality document photo while wearing glasses may seem tricky at first, but following a clear step-by-step approach can make the process much easier. Each step ensures that your photo meets verification standards and reduces the chance of rejection.
- Find bright but soft lighting. Lighting is the most crucial factor in a successful document photo. Harsh, direct light or camera flashes can create glare on your glasses, obscuring your eyes. Natural light from a window is usually ideal, as it evenly illuminates your face and the document. If natural light isn’t available, try using a lamp with a diffuser or indirect lighting to prevent sharp reflections. The goal is to have a well-lit environment that highlights your features without creating hotspots on your lenses.
- Hold the document steady and in full view. It’s important that the entire document is visible and readable in the photo. Avoid shaky hands, which can blur both your face and the text on the document. Using a table or flat surface to rest your elbows, or even a tripod or phone stand, can help stabilize the shot. Make sure the document is completely within the frame, and none of the edges are cut off. This ensures that verification systems can accurately process all the information.
- Tilt your head slightly to prevent glare on glasses. Even clean lenses can reflect light if the angle isn’t right. By adjusting the tilt of your head or the angle of the camera, you can minimize reflections and make your eyes clearly visible. Small adjustments—like tilting your chin slightly up or down—can make a huge difference. Checking multiple angles before taking the final shot is often the best approach.
- Check your background. A plain, uncluttered background ensures that nothing distracts from your face and the document. Busy or patterned backgrounds can confuse automated verification systems and even human reviewers. A light-colored wall or a neutral backdrop is usually best. Make sure there are no objects behind you that cast shadows or create reflections on your glasses.
- Make sure your eyes are visible behind your lenses. Your eyes are a critical part of facial recognition, so they must be fully visible. Avoid tinted lenses, sunglasses, or thick frames that block your eyes. Clean your glasses before taking the photo, and if glare is unavoidable, temporarily remove them if allowed. The clearer your eyes appear, the faster your verification will proceed.
- Take multiple shots and choose the best one. Don’t settle for the first photo you take. Capture several versions with slight variations in lighting, angle, and distance. Review each image to ensure clarity, focus, and visibility of your eyes and document. Choosing the best photo from multiple attempts greatly increases the likelihood of acceptance and saves time in the verification process.